How to Download and Install Fonts
Welcome to Free Font Zone! Follow this simple step-by-step guide to download and install fonts on your computer. Whether you're using Windows or macOS, we've got you covered.
3 Easy Steps
Download → Extract → Install | Get started in under 2 minutes
Step 1: Download the Font
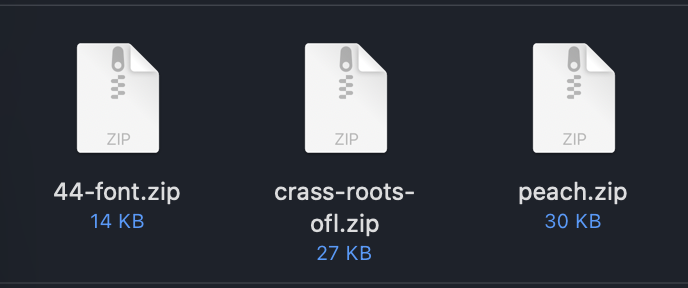
After clicking the download button on any font page, the font file will be downloaded to your computer as a .zip file. Common font files you'll see:
- 44-font.zip (14 KB) - Contains font family files
- crass-roots-ofl.zip (27 KB) - Font with Open Font License
- peach.zip (30 KB) - Complete font package
💡 Tip: Downloads usually go to your "Downloads" folder by default.
Step 2: Extract the ZIP File
Before you can install the font, you need to extract it from the ZIP archive:
- Windows: Right-click the .zip file → Select "Extract All" → Choose destination
- macOS: Double-click the .zip file (it extracts automatically)
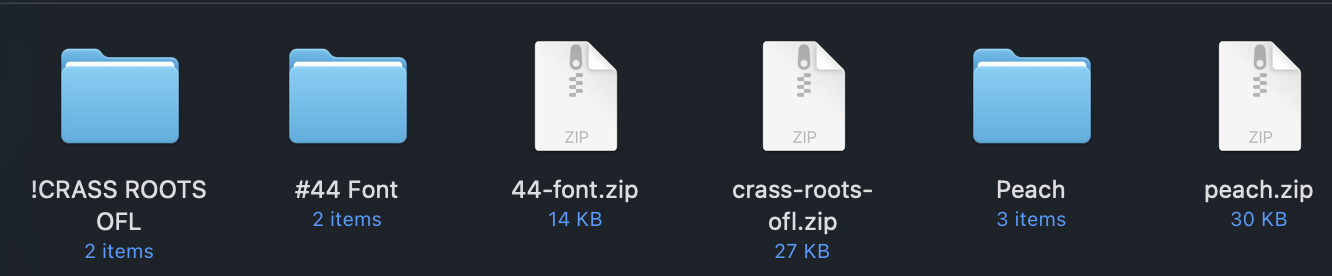
After extraction, you'll see folders containing your font files (.ttf, .otf) ready for installation.
Step 3: Preview the Font (Optional)
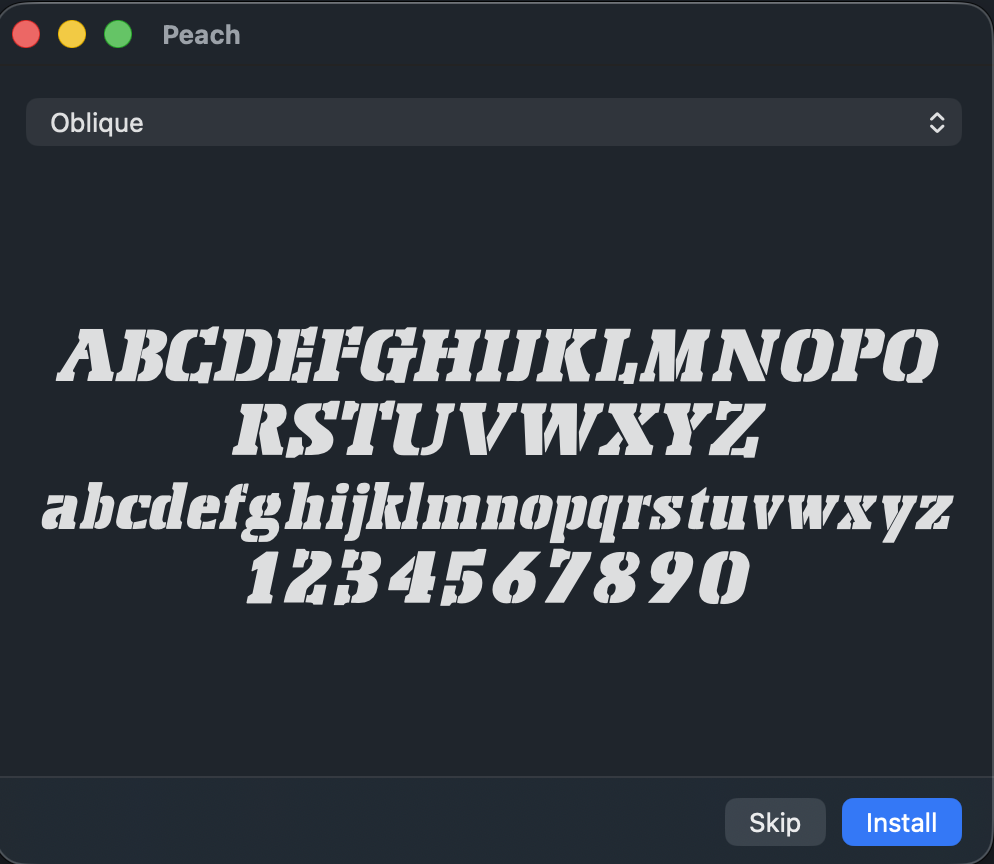
On macOS, double-clicking a font file opens Font Book with a preview showing:
- Complete alphabet in uppercase and lowercase
- Numbers and special characters
- Font style variations (Regular, Bold, Italic, Oblique, etc.)
This helps you verify the font looks exactly as you want before installing it!
Step 4: Install the Font
For macOS Users:
- Double-click the font file (.ttf or .otf)
- Font Book opens with a preview
- Click the "Install" button (blue button in bottom-right)
- The font is now installed and ready to use!
For Windows Users:
- Right-click on the font file (.ttf or .otf)
- Select "Install" or "Install for all users"
- Wait for installation to complete
- The font is now available in all your applications!
✨ Pro Tip: After installation, you may need to restart your design software (Photoshop, Illustrator, Word, etc.) to see the new font in the font menu.
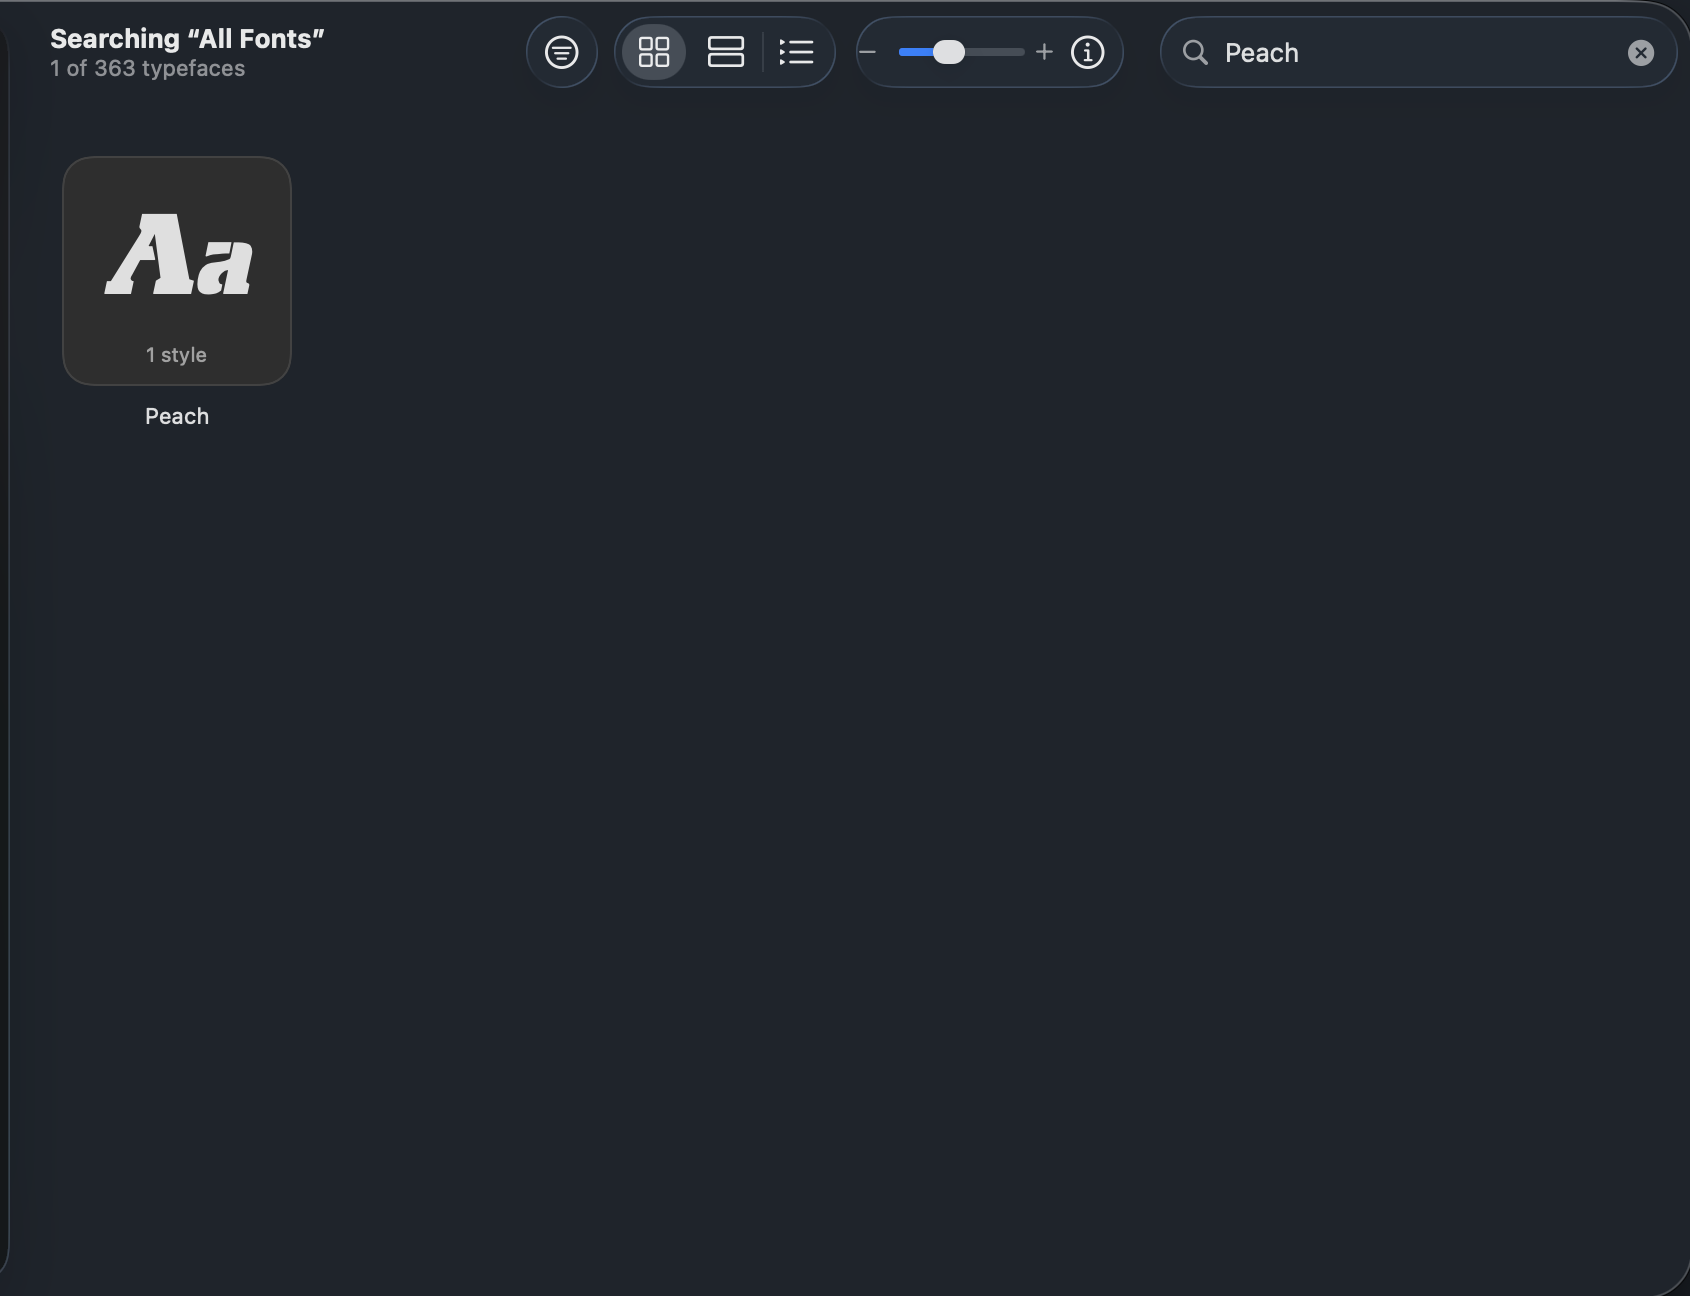
Using Your Installed Font
Once installed, your font is available in all applications that use system fonts:
Design Software: Adobe Photoshop, Illustrator, InDesign, Figma, Canva
Office Applications: Microsoft Word, PowerPoint, Excel, Google Docs
Web Design: Visual Studio Code, HTML/CSS projects
Video Editing: After Effects, Premiere Pro, Final Cut Pro
Troubleshooting Common Issues
❓ Font not showing up in my application?
Restart the application completely. Most software loads fonts at startup.
❓ Can't extract the ZIP file?
Make sure you have extraction software installed. Windows and macOS have built-in extractors, or try 7-Zip (Windows) or The Unarchiver (macOS).
❓ Getting an "already installed" error?
The font may already be on your system. Try uninstalling the old version first, then reinstall.
❓ Font looks different than the preview?
Make sure you installed the correct font file. Some font families have multiple styles (Regular, Bold, Italic) as separate files.
Need More Help?
We're here to help! Check out these additional resources:
Still have questions about installing fonts?
Feel free to contact us at [email protected]
Last updated: October 2025